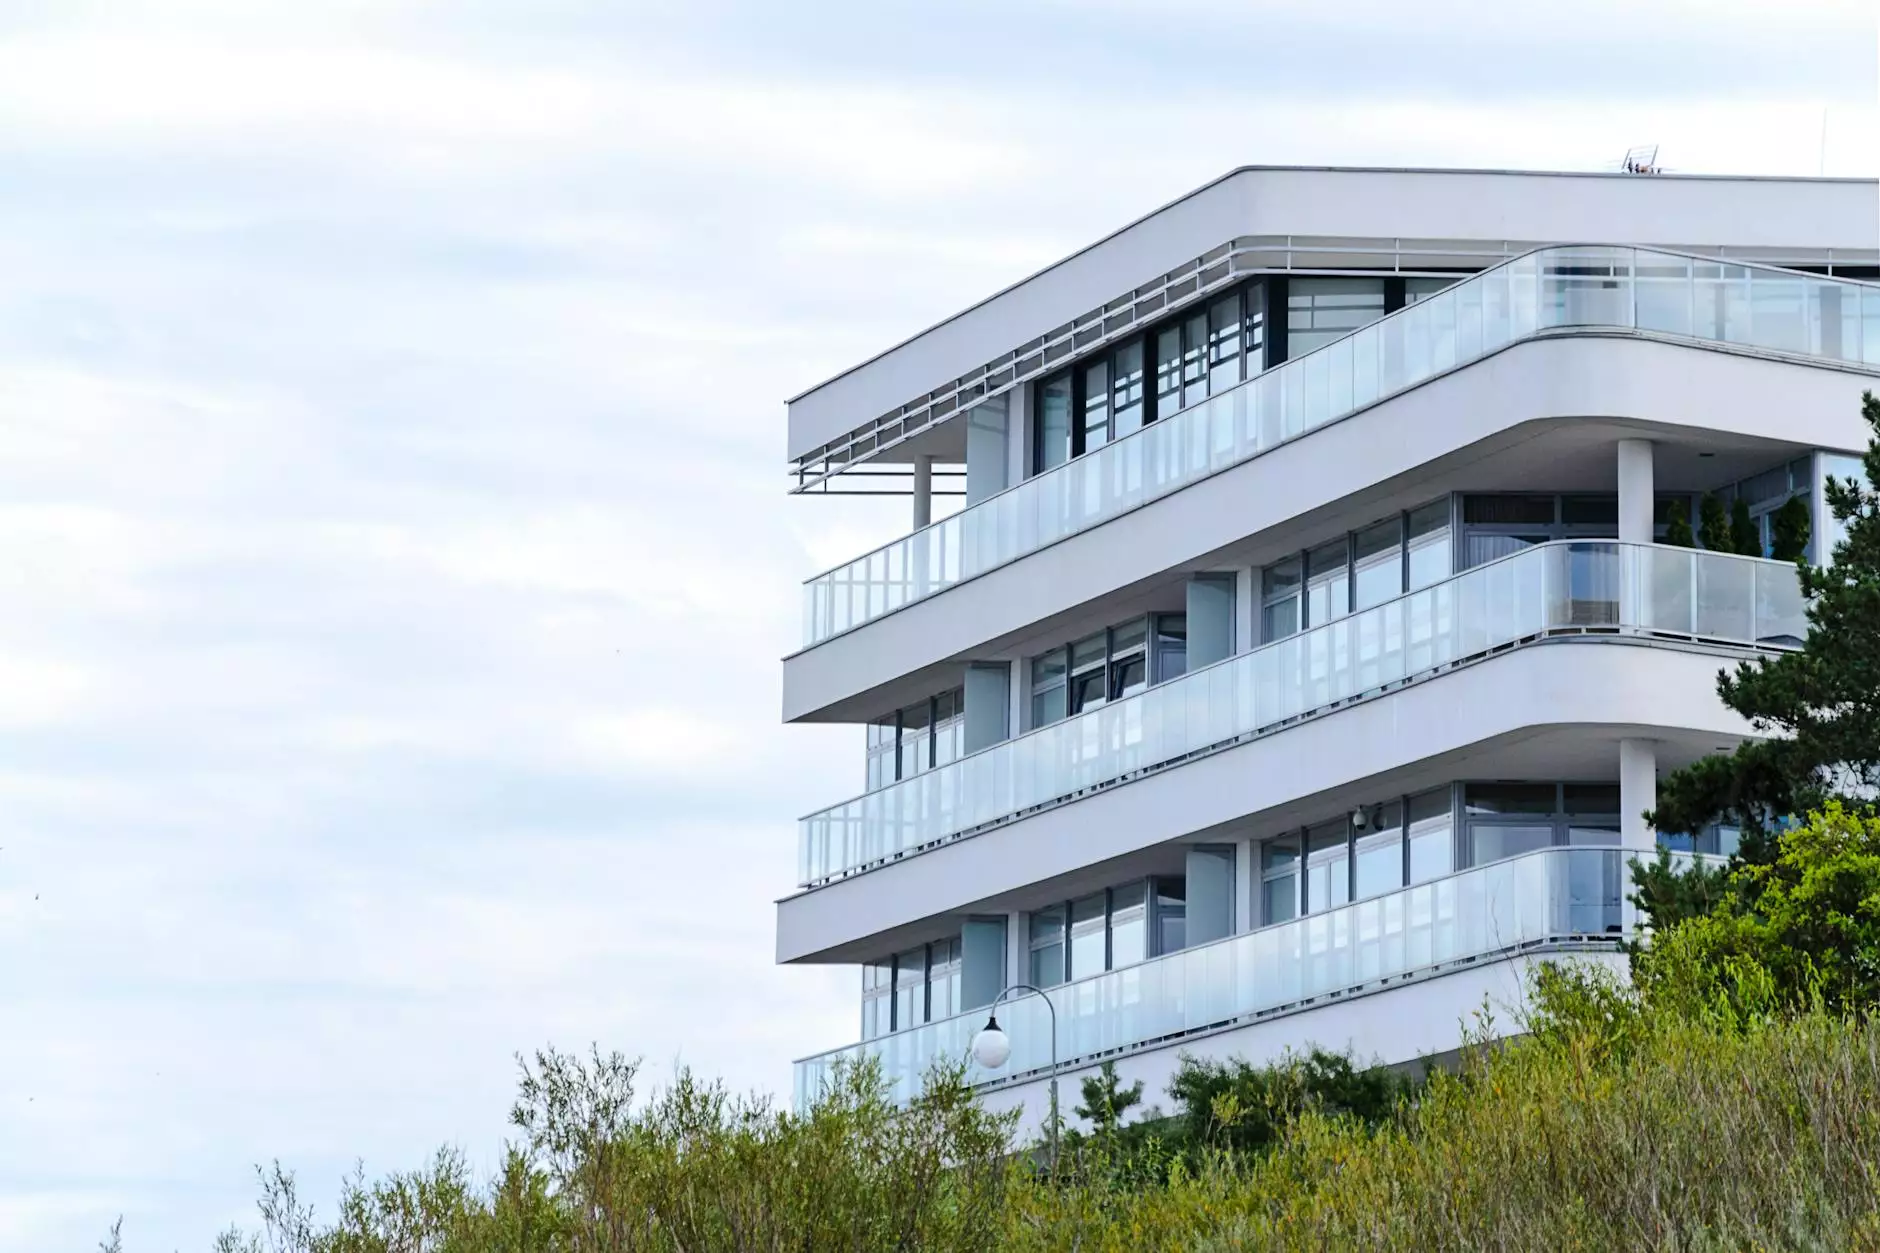
Transform Your Backyard Oasis: The Definitive Guide to Pool Tile Renovation
When it comes to enhancing the aesthetic and functionality of your swimming pool, pool tile renovation is one of the most impactful upgrades you can undertake. Whether you are looking to replace outdated tiles, repair damaged surfaces, or simply refresh the look of your pool area, understanding the nuances of this renovation process is essential. In this guide, we will delve deep into the world of pool tiles, exploring everything from types of tiles to installation and beyond.
Why Consider Pool Tile Renovation?
The reasons for renovating your pool tiles can be numerous:
- Aesthetic Improvement: Old or broken tiles can detract from the beauty of your pool. New tiles can give your pool a fresh, inviting look.
- Increased Value: A well-maintained pool can increase the overall value of your property, attracting potential buyers who appreciate outdoor amenities.
- Non-Slip Options: Renovating offers the opportunity to select tiles that provide better traction for safety, especially in wet environments.
- Repair Damage: Cracked or worn tiles can pose not only visual issues but also structural ones if water seeps through.
- Personal Style: Renovation allows you to customize your pool to reflect your personal taste and style.
Understanding Different Types of Pool Tiles
Before starting your pool tile renovation project, it's essential to understand the different types of tiles available:
1. Ceramic Tiles
Ceramic tiles are one of the most popular choices for pool renovation due to their durability and variety. They come in numerous colors and patterns, making it easy to create a unique look. Additionally, they are resistant to fading from chlorine and sunlight.
2. Glass Tiles
For a touch of luxury, glass tiles offer radiant beauty with their reflective surfaces. They are non-porous, making them resistant to algae and stains, which simplifies maintenance. A glass tile pool can create striking visual effects when the sun shines!
3. Porcelain Tiles
Porcelain tiles are known for their strength and low water absorption. They withstand freeze and thaw cycles, making them ideal for colder climates. Their variety of finishes, including matte, gloss, and textured, offers versatility in design.
4. Natural Stone Tiles
For a more organic feel, natural stone such as travertine or slate can enhance the beauty of your pool area. These tiles are durable and provide a unique appearance; however, they often require more maintenance compared to ceramic or porcelain tiles.
5. Vinyl Liners
While not a tile, vinyl liners can provide a seamless look for those looking to install a new pool. They come in various colors and designs, but their longevity is typically less than tile options.
Steps Involved in Pool Tile Renovation
Now that you are familiar with the different types of tiles, let's explore the general steps involved in pool tile renovation.
1. Assessment and Planning
Start by assessing your current tiles. Identify any broken, cracking tiles or areas where the grout is failing. Take detailed measurements of your pool to determine how many tiles and what kind of tiles you will need. Make a plan that includes budgeting, material choices, and a timeline for completion.
2. Removing Old Tiles
Once you’re ready to begin, the first step is to carefully remove the old tiles. Use a chisel and hammer to gently chip away the tiles, starting from the corners and working your way inward. Be cautious to avoid damaging the pool surface underneath.
3. Preparing the Surface
After removing the tiles, clean the surface thoroughly. Remove any old adhesive or grout using a grinder or sander. Ensure that the surface is smooth and level to prevent issues during installation.
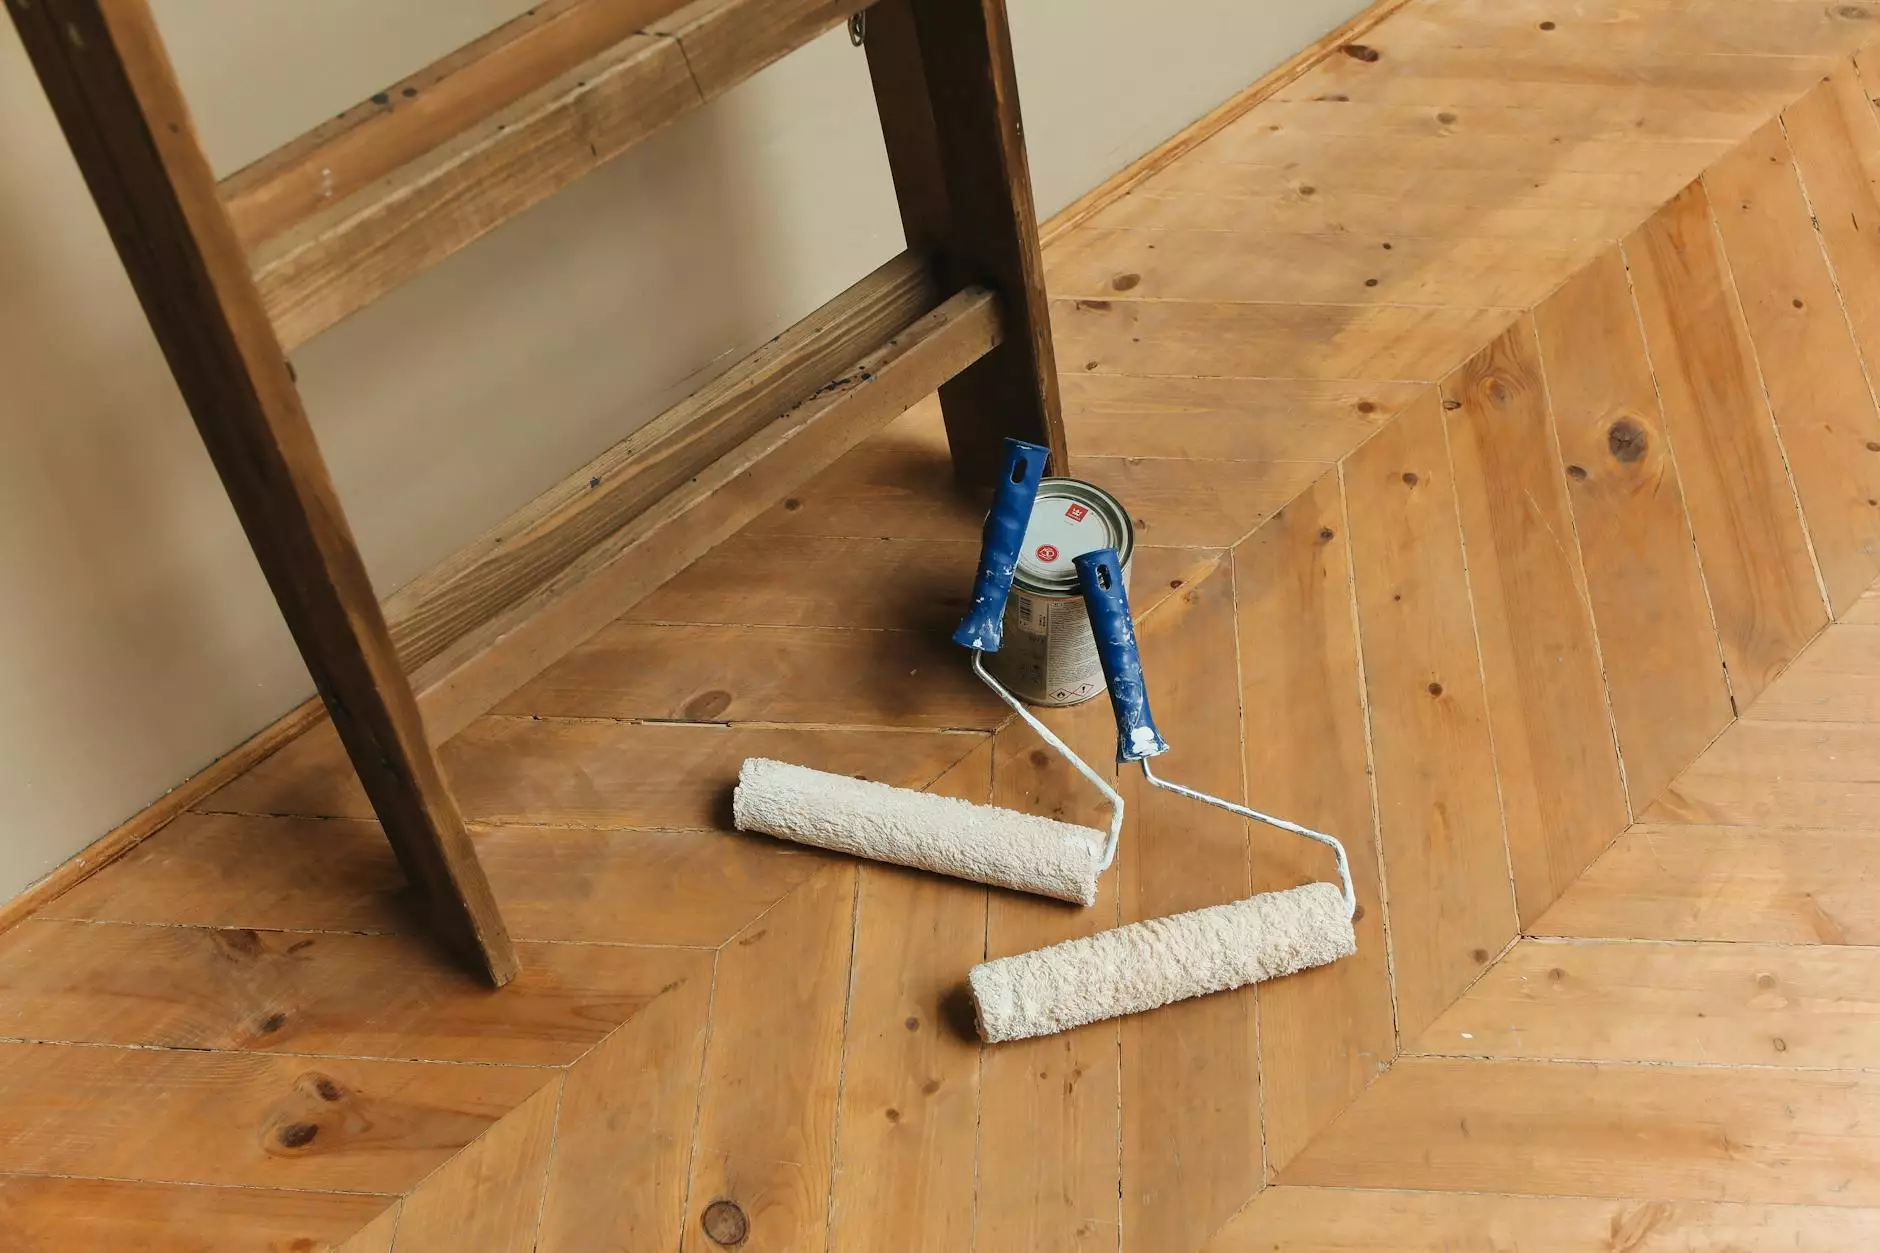
4. Installing New Tiles
Now it's time for the fun part: installing the new tiles! Apply thin-set mortar to the surface and place the tiles according to your design. Take care to space the tiles evenly. Use spacers to maintain consistent gaps for grout.
5. Grouting
Once the tiles are secured and the adhesive has cured, it’s time to grout. Mix the grout according to the manufacturer's instructions and apply it using a grout float. Ensure to fill all gaps thoroughly and wipe away excess grout with a damp sponge.
6. Sealing the Tiles
Depending on the type of tiles used, sealing may be necessary to protect them from water damage and stains. Follow the manufacturer's recommendations for the best sealing practices.
7. Final Inspection and Cleaning
After everything is installed and dried, conduct a thorough inspection. Look for any misplaced tiles, grout lines, or areas that need touch-ups. Clean the entire area to remove dust or debris.
Maintenance Tips for Renovated Pool Tiles
After your pool tile renovation, ongoing maintenance is key to ensuring longevity. Here are some helpful tips:
- Regular Cleaning: Clean your pool tiles regularly with a soft brush and a mild cleaner. This helps avoid algae buildup and keeps the tiles looking new.
- Check for Damages: Regularly inspect the tiles for cracks or chips that can lead to water leakage.
- Monitor Water Chemistry: Keeping the right chemical balance in your pool water helps prevent tile damage from corrosive substances.
- Seasonal Maintenance: In colder climates, consider draining the pool during the off-season to limit freeze damage.
Conclusion
Embarking on a pool tile renovation project can significantly improve the appearance and functionality of your swimming pool. By understanding the types of tiles available, following the proper installation steps, and maintaining your newly renovated pool, you can create a stunning outdoor oasis that you'll enjoy for years to come. Let “PoolRenovation.com” be your go-to resource for everything related to swimming pools, water heater installation, and repair. Embrace your backyard paradise and invest in your property with confidence!